Master The Art Of Drawing Scarves: A Step-by-Step Guide To Creating Stunning Scarf Illustrations

How to Draw a Scarf: A Step-by-Step Guide
Introduction
Greetings, Scarf Wearer! Are you tired of buying scarves that don’t quite match your style? Why not try your hand at drawing your own scarf? Not only will it allow you to express your creativity, but it will also give you a unique accessory that reflects your personal taste. In this article, we will provide you with a comprehensive guide on how to draw a scarf, from the materials you’ll need to the step-by-step process. So grab your drawing supplies and let’s get started!
2 Picture Gallery: Master The Art Of Drawing Scarves: A Step-by-Step Guide To Creating Stunning Scarf Illustrations
Materials Needed
Before we dive into the drawing process, let’s gather the necessary materials. You will need:
Image Source: iheartcraftythings.com
Paper or sketchbook
Pencil or pen
Eraser
Colored pencils or markers (optional)
Ruler (optional)
Step 1: Sketch the Outline
Begin by lightly sketching the outline of your scarf on the paper. Decide on the length and width you desire for your scarf, and use your ruler to ensure straight lines if needed. Remember, the shape doesn’t have to be perfect!
Step 2: Add Patterns or Designs
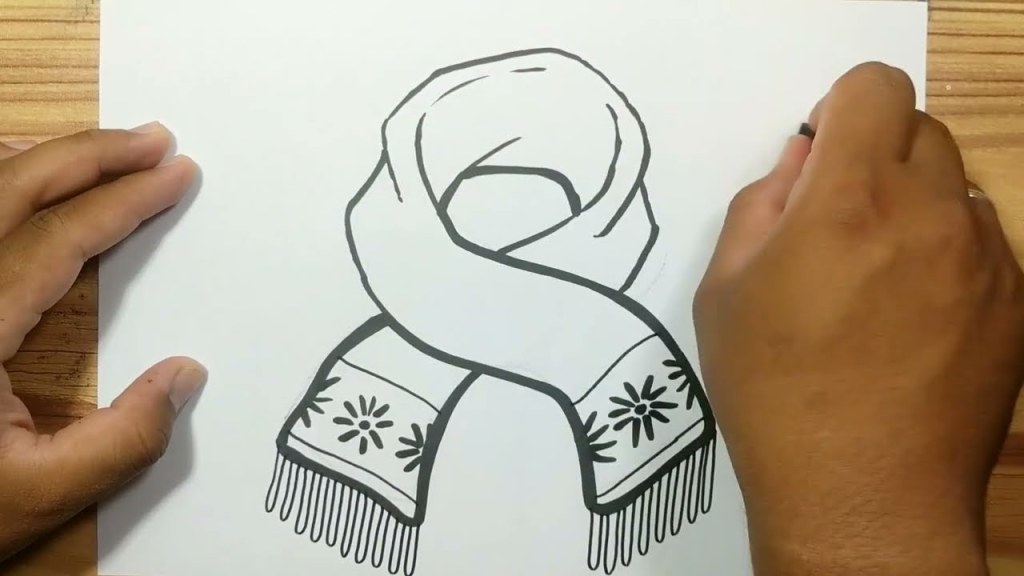
Image Source: ytimg.com
Now comes the fun part—adding patterns or designs to your scarf. Let your imagination run wild! You can draw stripes, polka dots, floral patterns, or any other design that appeals to you. Consider using different colors to make your scarf more vibrant and eye-catching.
Step 3: Shade or Color
If you want to add depth and dimension to your scarf, you can shade or color it. Use your colored pencils or markers to fill in the patterns and designs you created. Experiment with different shading techniques to achieve the desired effect.
Step 4: Add Fringe or Tassels
To make your scarf more realistic, consider adding fringe or tassels. Draw small lines or threads at the ends of your scarf to represent the fringe. You can also add tassels by drawing small rectangles or triangles and attaching them to the ends.
Step 5: Clean Up and Refine
Once you’re satisfied with your drawing, use your eraser to remove any unnecessary lines or smudges. Take your time to refine the details and make any adjustments to ensure your scarf looks exactly how you envisioned it.
Step 6: Finalize Your Drawing
After you’ve cleaned up your drawing, take a step back and admire your work. Is there anything else you’d like to add or change? Make any final touches to complete your masterpiece.
Advantages and Disadvantages of Drawing a Scarf
Like any other activity, drawing a scarf has its advantages and disadvantages. Let’s take a look at both:
Advantages
1. Creativity: Drawing your own scarf allows you to unleash your creativity and create a one-of-a-kind design.
2. Personalization: You can tailor your scarf to your specific style and preferences, ensuring it matches your wardrobe perfectly.
3. Cost-effective: Drawing a scarf is a cost-effective alternative to buying one, especially if you already have the necessary materials.
4. Therapeutic: The process of drawing can be a relaxing and meditative activity, providing a sense of calm and fulfillment.
5. Gift-giving: A hand-drawn scarf makes for a thoughtful and unique gift for friends and loved ones.
Disadvantages
1. Time-consuming: Drawing a detailed scarf may require a significant amount of time and patience.
2. Skill level: If you’re new to drawing, creating a complex design may be challenging.
3. Limited durability: Hand-drawn scarves may not have the same longevity as professionally made ones.
4. Limited variety: While you can create various designs, your options may be limited compared to store-bought scarves.
5. Imperfections: Hand-drawn scarves may have minor imperfections, which can add character but may not be desired by everyone.
Frequently Asked Questions
1. Can I use watercolors instead of colored pencils?
Yes, you can use watercolors to add color to your scarf drawing. However, keep in mind that watercolors may require a different technique and may affect the texture of the paper.
2. Do I need to have drawing experience to draw a scarf?
No prior drawing experience is necessary. Drawing a scarf is a great way to practice your skills and improve as you go.
3. Can I draw a scarf digitally?
Absolutely! If you prefer digital drawing, you can use a drawing tablet and software to create your scarf design.
4. How can I make my scarf design more unique?
Consider incorporating elements that reflect your personal interests or hobbies into the design. You can also experiment with different textures or combine various patterns.
5. Can I wash a hand-drawn scarf?
It’s best to hand wash a hand-drawn scarf gently to preserve the design. Follow the washing instructions provided with your drawing materials to ensure longevity.
Conclusion
Congratulations, Scarf Wearer! You’ve successfully learned how to draw your own scarf. Remember, this process allows you to unleash your creativity, personalize your accessories, and even create unique gifts. Don’t be afraid to experiment with different designs, colors, and techniques. So grab your drawing supplies and start creating your stylish scarf today!
Final Remarks
Disclaimer: The information provided in this article is for educational purposes only. The results may vary depending on individual skills and preferences. Always use caution when handling art supplies and follow the instructions provided by the manufacturers. Happy drawing!
This post topic: Scarf


